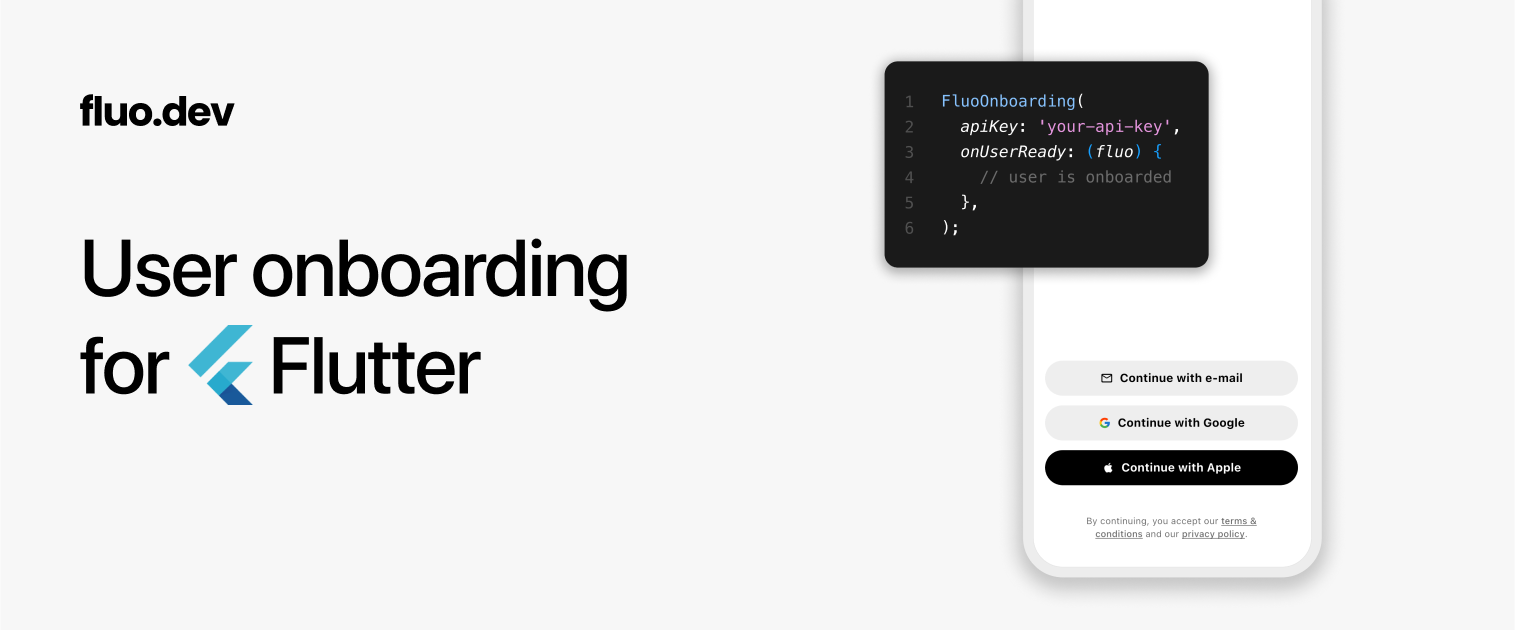
fluo 1.0.0  fluo: ^1.0.0 copied to clipboard
Authentication made for Flutter. Complete UI flows in less than 5 minutes.

Fluo #
- Getting started
- Integrating with Firebase
- Integrating with Supabase
- Integrating with any backend
- Customizing the theme
Getting started #
STEP 1 — Get an api key from the Fluo dashboard
STEP 2 — Add the package to your dependencies:
flutter pub add fluo
STEP 3 — Add the FluoLocalizations.delegate to your app's localizationsDelegates:
MaterialApp(
  // ...other properties...
  localizationsDelegates: const [
    FluoLocalizations.delegate,
    // ...other delegates...
  ],
)
STEP 4 — Use the Fluo SDK:
import 'package:fluo/fluo.dart';
import 'package:fluo/fluo_onboarding.dart';

FutureBuilder(
  future: Fluo.init('YOUR_API_KEY'),
  builder: (context, snapshot) {
    // Fluo is not initialized yet.
    if (!Fluo.isInitialized) {
      return const Scaffold(
        backgroundColor: Colors.white,
      );
    }

    // Fluo is initialized. Check if the user is ready.
    if (!Fluo.instance.isUserReady()) {
      return FluoOnboarding(
        fluoTheme: FluoTheme.native(), // or FluoTheme.web()
        onUserReady: () => setState(() {}), // force build
      );
    }

    // User is ready!
    return ConnectedScreen(
      onSignOut: () async {
        await Fluo.instance.clearSession();
        setState(() {});
      },
    );
  },
)
Important methods to know about:
// Initialize the SDK
await Fluo.init('YOUR_API_KEY');

// Check if init is done
Fluo.isInitialized

// Check if user is ready (= valid session + valid user attributes)
Fluo.instance.isUserReady()

// Session management
await Fluo.instance.clearSession()
await Fluo.instance.refreshSession()
await Fluo.instance.getAccessToken()

// If you build your own connect screen (and don't use FluoOnboarding)
Fluo.instance.showConnectWithEmailFlow(/* ... */)
Fluo.instance.showConnectWithMobileFlow(/* ... */)
Fluo.instance.showConnectWithGoogleFlow(/* ... */)
Fluo.instance.showConnectWithAppleFlow(/* ... */)
For macOS, make sure you have networking allowed by adding this key to both {your-app}/macos/Runner/DebugProfile.entitlements and {your-app}/macos/Runner/Release.entitlements:
<dict>
	<!-- Add this key set to true -->
	<key>com.apple.security.network.client</key>
	<true/>
</dict>
Integrating with Firebase #
Select 'Firebase' when setting up your preferred backend option. Once complete, when users are onboarded, Fluo forwards their information to (1) the Firebase Authentication service and (2) a users table created automatically in the Firestore Database. As such, make sure the Firestore Database is initialized.
Back to your app code, to initialize correctly the Firebase session, use the fluo.firebaseToken as below:
// 1. Initialize the Firebase client somewhere in your code
// 2. Make sure Fluo is initialized and has a session
// 3. Use 'signInWithCustomToken' as shown below
if (Fluo.isInitialized) {
  final fluoSession = Fluo.instance.session;
  if (fluoSession != null) {
    final firebaseToken = fluoSession.firebaseToken!;
    await FirebaseAuth.instance.signInWithCustomToken(firebaseToken);
  }
}
Integrating with Supabase #
Select 'Supabase' when setting up your preferred backend option. Once complete, when users are onboarded, Fluo forwards their information to (1) the Supabase Authentication service and (2) a users table that you will create as part of the Supabase setup (no worries, it's a simple copy-paste).
Back to your app code, to initialize correctly the Supabase session, use the fluo.supabaseSession as below:
// 1. Initialize the Supabase client somewhere in your code
// 2. Make sure Fluo is initialized and has a session
// 3. Use 'recoverSession' as shown below
if (Fluo.isInitialized) {
  final fluoSession = Fluo.instance.session;
  if (fluoSession != null) {
    final supabaseSession = fluoSession.supabaseSession!;
    await Supabase.instance.client.auth.recoverSession(supabaseSession);
  }
}
Integrating with any backend #
Select 'Custom' when setting up your preferred backend option. The general idea is to use the JWT access token provided by Fluo. Once decoded (using your secret key), it provides the user information which you can store in your database.
Here is a full example to understand how it works:
[1] Wherever you need it, call Fluo.instance.getAccessToken() to get the JWT access token generated by Fluo and send it to your backend.
import 'package:http/http.dart' as http;

// Example of a function that gets a user. If the user
// doesn't exist yet, it should create it first.
Future<User> getOrCreateUser() async {
  final fluo = GetIt.instance<Fluo>();
  // This method returns an access token which is valid for
  // 1 hour and auto-refreshed using a single-use refresh token
  final accessToken = await Fluo.instance.getAccessToken();
  final response = await http.get(
    Uri.parse('https://your-backend.com/api/user/me'),
    headers: {
      'authorization': 'Bearer $accessToken',
    },
  );
  return User.fromJson(jsonDecode(response.body));
}
[2] In your backend, decode the access token to get the JWT payload. The payload contains the user id (sub) and email. Depending on your configuration, it may also contain the first name and last name.
const jwt = require("jsonwebtoken")

// This is your JWT secret key (do not share it with anyone)
const SECRET_KEY = "{jwtSecret}"

// Following on the example, here is the corresponding endpoint.
// Note that this is simplified and does not handle all edge cases.
app.get("/api/user/me", async (req, res) => {
  const accessToken = req.headers["authorization"].split(" ")[1]

  // Decode the access token using your secret key
  const payload = jwt.verify(accessToken, SECRET_KEY)

  // 'payload.sub' contains a unique user id generated by Fluo
  const userId = payload.sub

  // Find the user by id
  let user = await User.findOne({ id: userId })

  // If the user doesn't exist, create it
  if (!user) {
    user = await User.create({
      id: userId,
      email: payload.email,
      firstName: payload.firstName,
      lastName: payload.lastName,
    })
  }

  return res.status(200).json(user)
})
[3] If you need to go further, here is a complete example of the payload. For example, for increased security, you might want to verify that the token has not expired.
{
  "iat": 1744039599, // issued at
  "exp": 1744043199, // expires 1 hour after being issued
  "iss": "fluo.dev", // issuer
  "sub": "2rztxukf57pnjz9", // user id
  "email": "peter@marvel.com", // user email
  "firstName": "Peter", // user first name
  "lastName": "Parker", // user last name
}
Customizing the theme #
Pass a FluoTheme to the FluoOnboarding component.
For iOS, Android, macOS
FluoOnboarding(
  // ...other properties...
  fluoTheme: FluoTheme.native(/* paramaters */),
)
For web
FluoOnboarding(
  // ...other properties...
  fluoTheme: FluoTheme.web(/* paramaters */),
)
Parameters
{
  Color? primaryColor,
  Color? inversePrimaryColor,
  Color? accentColor,
  EdgeInsets? screenPadding,
  ButtonStyle? connectButtonStyle,
  ButtonStyle? connectButtonStyleGoogle,
  ButtonStyle? connectButtonStyleApple,
  TextStyle? connectButtonTextStyle,
  TextStyle? connectButtonTextStyleGoogle,
  TextStyle? connectButtonTextStyleApple,
  double? connectButtonIconSize,
  Widget? connectButtonIconEmail,
  Widget? connectButtonIconMobile,
  Widget? connectButtonIconGoogle,
  Widget? connectButtonIconApple,
  TextStyle? legalTextStyle,
  EdgeInsets? legalTextPadding,
  TextStyle? modalTitleTextStyle,
  TextStyle? titleStyle,
  InputDecorationTheme? inputDecorationTheme,
  TextStyle? inputTextStyle,
  TextStyle? inputErrorStyle,
  TextAlignVertical? inputTextAlignVertical,
  ButtonStyle? nextButtonStyle,
  Size? nextButtonProgressIndicatorSize,
  Color? nextButtonProgressIndicatorColor,
  double? nextButtonProgressIndicatorStrokeWidth,
  EdgeInsets? countryItemPadding,
  Color? countryItemHighlightColor,
  TextStyle? countryTextStyle,
  PinTheme? codeInputThemeDefault,
  PinTheme? codeInputThemeFocused,
  PinTheme? codeInputThemeSubmitted,
  PinTheme? codeInputThemeFollowing,
  PinTheme? codeInputThemeDisabled,
  PinTheme? codeInputThemeError,
}